Xamarin how to use Android Studio to edit native resource files
When you have to develop a native UI for Android with Visual Studio, in few minutes you realize that Visual Studio, on this task is light years away from Android Studio, as you would expect :-(.
In this post I describe a little trick that allows you to use Android Studio as a Resource file editor for a Xamarin Android project, with native UI.
Let’s suppose the folder with the Xamarin solution is c:\xamarin\myapp\. In all likelihood, native Android resources will be found in the c:\xamarin\myapp\resources folder.
Important: rename all .axml files to .xml to allow Android Studio to handle them correctly. For Visual Studio it means losing the integrated graphic editor, which we found to be mediocre…
-
From Android Studio, click on “Start new android studio project”. Let’s use as Project Location
c:\android\myFakeApp. Choose the API level you prefer, then add an Activity to Mobile > “Basic Activity”, then click to finish. -
The resource folder for this project will be:
c:\android\MyFakeApp\app\src\main\res -
Build the project from window’s Menu> Build> Make Project
-
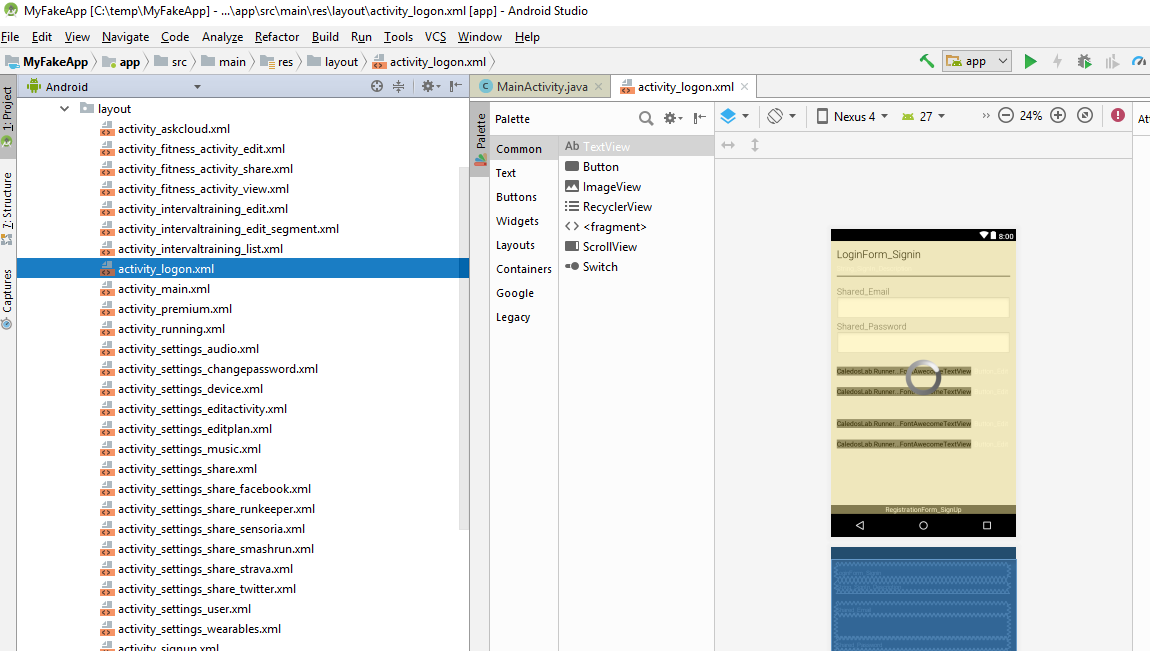
After completing the build by opening the file
app\src\main\res\layout\activity_main.xmlyou will see the graphic editor of android studio working properly. -
From windows file explorer rename
c:\android\MyFakeApp\app\src\main\resinc:\android\MyFakeApp\app\src\main\res.good -
Then open a command prompt and type:
Mklink / D c:\android\MyFakeApp\app\src\main\res c:\xamarin\myapp\resources(you are creating a symbolic link…)
The result will be:

Open Android Studio: all Visual Studio project’s resource files will be visible and easiy editable!